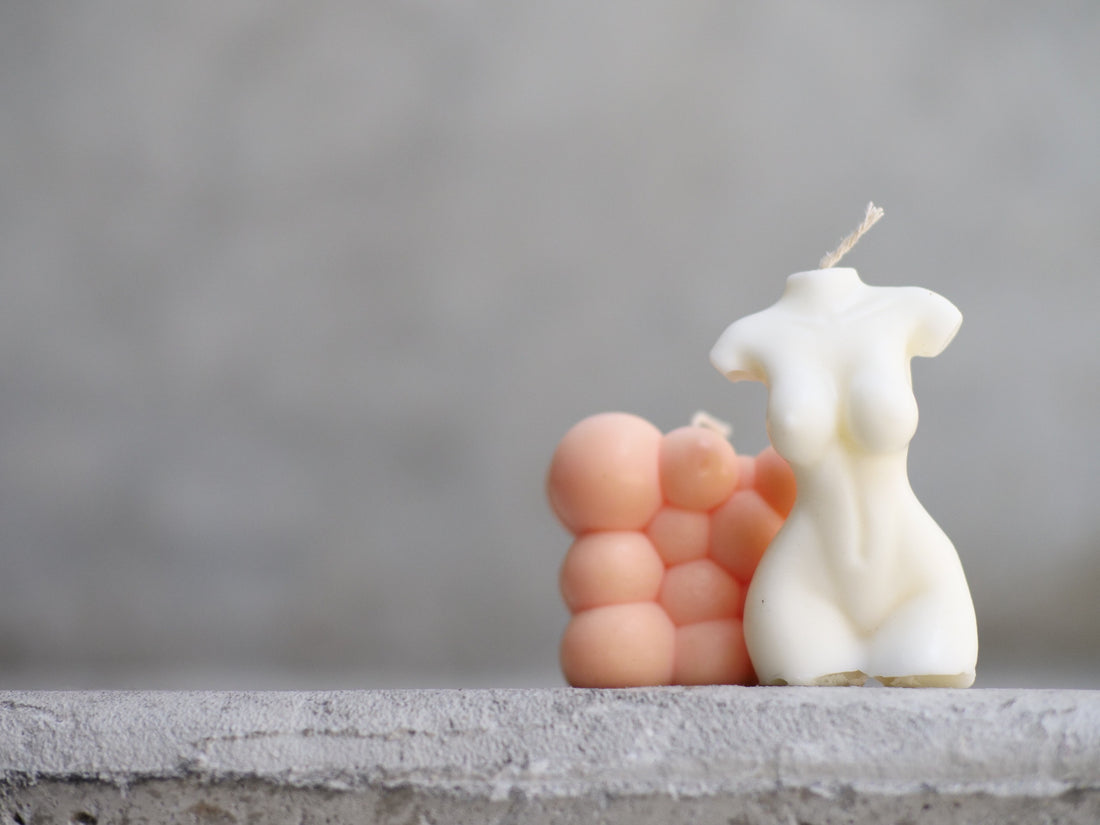
Candle Making How To Guide
Share
How To Make Candles With Suki Home

What You Need:
-
Paraffin wax OR a mix of paraffin & soy wax
-
Candle wick string
-
Needle
-
Essential oil or fragrance oil
-
Heatproof jar
-
Scissors
-
Wick holder
-
Saucepan
-
Secure the wick in place. Once you have the wick in place, you'll need to secure it so it stays centered in the mold and doesn't move while you're pouring the wax. There are a few different ways to do this:
-
Use a wick holder or sustainer. These are small metal or plastic discs that have a hole in the center for the wick. You can thread the wick through the hole and then secure the holder to the bottom of the mold with hot glue or a small piece of tape.
-
Use a wick sticker. These are small stickers that have a sticky side that you can use to attach the wick to the bottom of the mold.
-
Use a wick tab. These are small metal tabs that have a hole in the center for the wick. You can thread the wick through the hole and then secure the tab to the bottom of the mold with hot glue or a small piece of tape.
-
Prepare the wax. Depending on the type of wax you're using, you may need to melt it before you can pour it into the mold. If you're using a block of wax, you can melt it in a double boiler or in a microwave-safe container in the microwave. If you're using wax flakes, you can melt them in a microwave-safe container in the microwave.
-
Add fragrance and colour, if desired. Once the wax is melted, you can add fragrance oils and/or colorants to customize the scent and appearance of your candle. Be sure to use a measuring spoon or scale to measure the correct amount of fragrance and colorant.
-
Pour the wax into the mold. Once the wax is melted and fragranced/coloured, it's time to pour it into the mold. Pour slowly and steadily, taking care not to disturb the wick. If you're using a two-part mold, be sure to pour enough wax to fill both parts of the mold.
-
Allow the wax to cool and set. Once you've poured the wax into the mold, allow it to cool and set completely before removing the candle from the mold. This can take several hours or even a full day, depending on the size and thickness of the candle.


